⚠️ Important: Please follow the installation instructions on the Webshop Integration page carefully. Some key settings — like selecting the tree species package (which determines your cost per tree) and customizing your Tree-Gift message — are essential for correct installation and better visibility on our platform.
Step 1: Log in or create your company Account
To begin, log in to your Tree-Nation company account or create an account if you don’t have one yet.
This is required to access your integration ID and manage your forest.
Step 2: Request your integration ID
Visit the Webshop Integration page and choose WooCommerce as your platform.
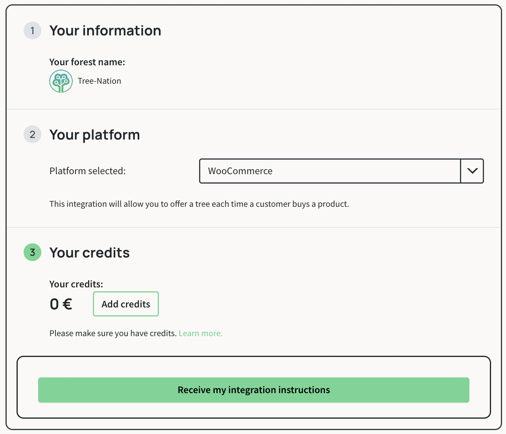
From here, you´ll:
- Select your platform, selected by default
- Credit your account - We will do this later. 🪙
- Request your integration ID by clicking on ´Receive my integration instructions.´ 🔗
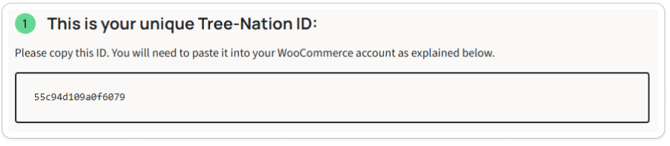
Your unique Tree-Nation Integration ID will be generated — it looks like this:
Step 3: Install the WooCommerce Plugin
-
Go to the Tree-Nation for WooCommerce plugin page
-
Click Download.

-
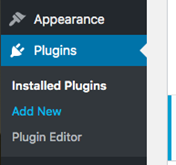
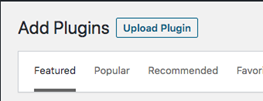
In your WordPress dashboard, go to Plugins → Add New
-
Click Upload Plugin
-
Select the file:
tree-nation-for-woocommerce.zip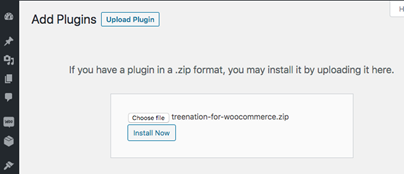
-
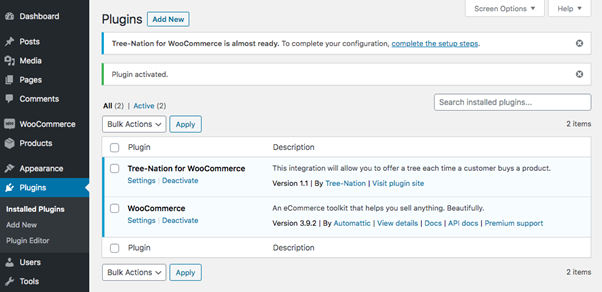
Click Install Now and then Activate

- Once installed and activated, click on the 'Settings' link under the name of the plugin.
Step 4: Configure the Plugin
After activation:
-
Click Settings under the Tree-Nation plugin name
-
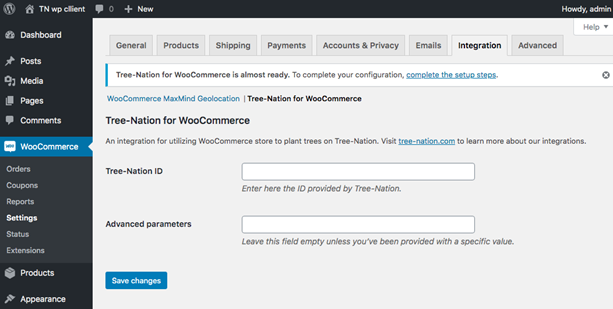
You’ll be redirected to the WooCommerce > Settings > Integration tab
-
Paste the Tree-Nation Integration ID from Step 2
-
Click Save changes
Step 5: Activate the integration
Congrats, you have installed the integration 🎉. To activate the integration and tree planting, you would need credits.
- Credit your account via this page to enable automatic tree planting.
→ We recommend starting with €50–€200, depending on your monthly order volume.
Please ensure your billing information is up to date to guarantee accurate invoicing.
Step 6: Brand your Tree Planting
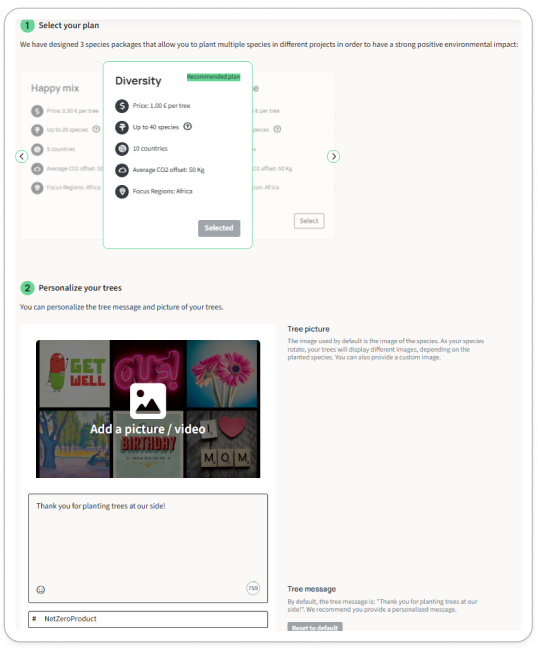
In this step, you will customize your tree content and pick your species package
- Go to the WooCommerce customize page.
- Select your tree species package, which defines the price per tree.
- Brand your Tree-Gift message, including a personalized message and image for better customer engagement and visibility. We recommend keeping the #NetZeroProduct as you will be visible on the leaderboard.
- Select email language.
- Configure the number of trees planted per product/service sold.
Step 7: Test your integration
Place a test order in your store or wait for your next customer order, then verify that tree planting has been triggered by visiting your forest and checking if the tree appears.
⚠️ Important: Use a different email address than the one linked to your Tree-Nation account — otherwise, you won’t receive the Tree-Gift email (the system will assume you're both sender and recipient).
To place a test order and plant a tree, please ensure your account is credited if not done yet in step 5. We recommend allocating between €50 and €200, depending on your order volume. Credit your account here!
Step 7: Tools for communication 📣
Use our communication assets to promote your tree-planting initiative on your site, emails, and social media.
🌱 Advanced Net Zero Product options
Please click here to view our advanced NZP configurations.
-
Planting 1 tree per order instead of per product
-
Adding a minimum product amount
- Adding a minimum order amount
- Product ID restriction
🙋 Need Help?
If you run into any issues, feel free to:
-
Contact us at support@tree-nation.com
-
Chat with our agent on tree-nation.com